How I Planned the Best Road Trip in California with Google Maps
I arrived in California in my RV with a two-night stay booked at a campsite and no further plans. With just two days to figure it out, not counting the time I planned on hiking, climbing, and exploring the town, I turned to Google Maps to plan the rest of my ultimate road trip in California.
And, while I won’t suggest waiting until the absolute possible second like me, I was able to plan a forever memorable road trip with Google Maps for me and my friends quickly and easily. For anyone else looking to hit the road, here is a step-by-step guide to how to plan a road trip with Google Maps.
How to Plan a Road Trip with Google Maps

Most people have used Google Maps for directions, but not everyone knows how to plan a road trip with Google Maps. You can even make and customize your own maps to design the perfect road trip.
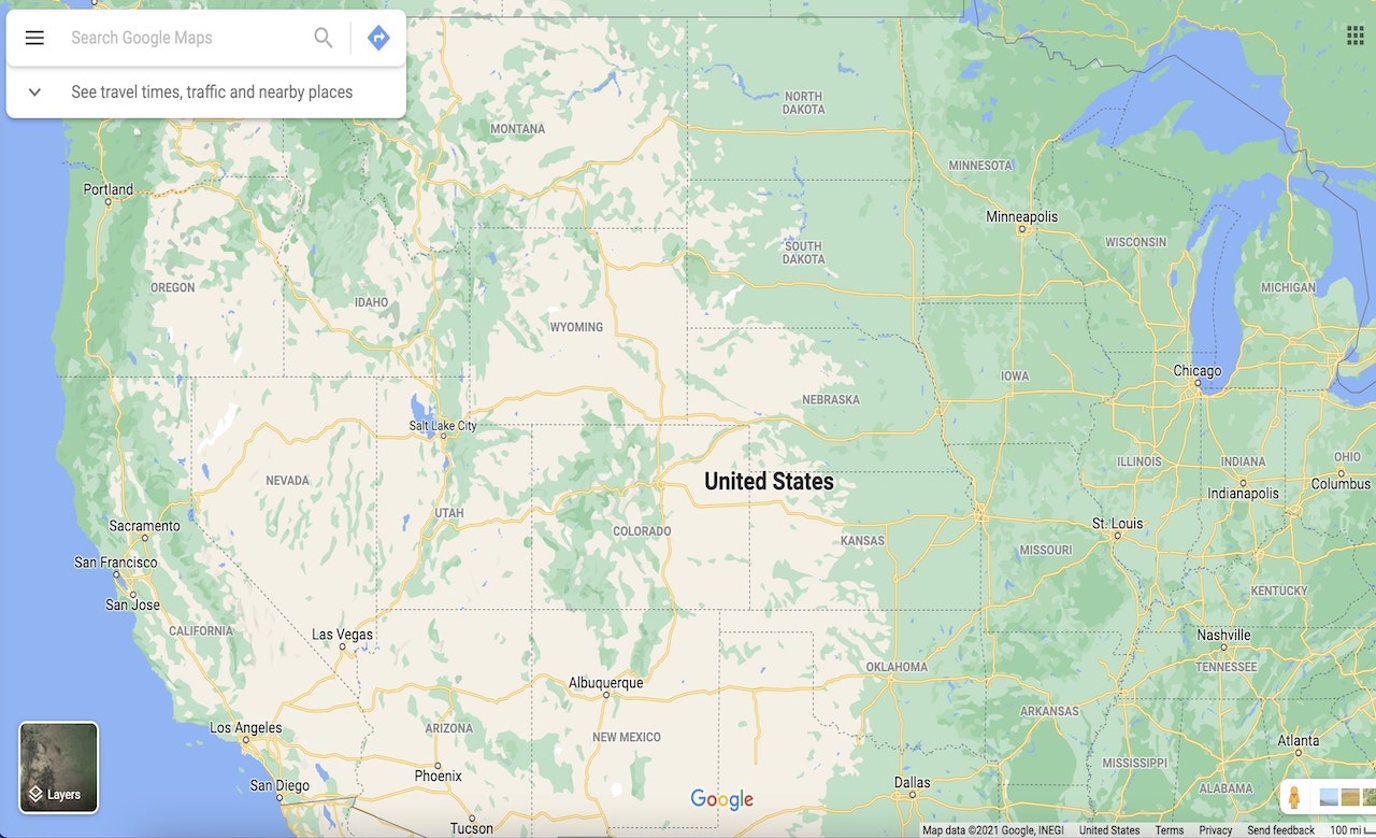
On a computer from Google Maps, click the three horizontal lines in the upper left and then Your Places. There, you’ll find a section called Maps with the option to Create Map at the bottom. From then on, every time you visit this section you’ll see your history of all of the maps you’ve created over time.
Creating a new map takes you to a zoomed-out view of the US. From here, search for a location or zoom in and click around to find your specific points of interest. Starting in Joshua Tree, California, I placed my first marker as the very start of our trip.
Location Pins

Each time you double-click or search for a location on the map, you’ll see a popup with details and the option to add it to the map. My first pin was Joshua Tree National Park and from there we set off on our California adventure. Pin all of your points of interest and see the visual spread of everywhere you hope to go. This also helps to visualize what areas are the busiest for you and your group so you can allocate enough time to get everything done.
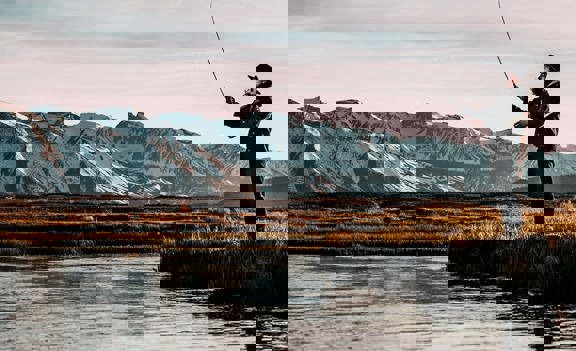
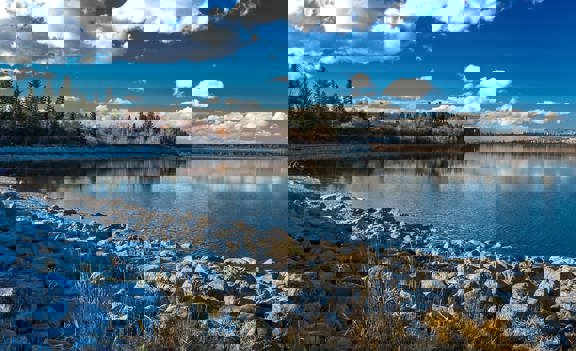
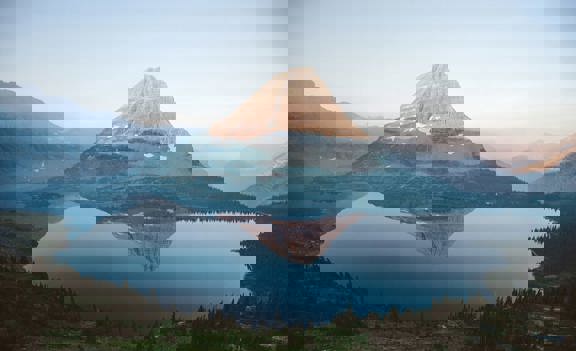
You have the freedom to customize how the location pins look in design and color. I loved being able to add a picture or video to each location pin as well. As we made our way north to Sequoia National Park, Yosemite National Park, and beyond, it was great to be able to include photos to remember which trails were where at a quick glance. Using these customizable features made it so easy to figure out how to plan a road trip on Google Maps with multiple stops.
Diving Deeper into the Features

What if you’re more organized than me? Want to know specifically what you’re going to do each day or in each city? I like a healthy amount of time to stumble around a new place, but there’s something to be said about being able to book reservations or tickets to attractions in advance.
The best feature of using Google Maps to plan a road trip in California or anywhere is the layers feature. When you first create your new map, everything will be on a default first layer. For some, having everything all together is easy. For the rest of us, having a few layers really helps to make planning a road trip as easy as possible.
Maximize this feature by using separate layers to denote in any way that makes sense. Sometimes, I have layers grouped by genre — one for restaurants, one for nighttime, one for hiking trails, etc. Other times, I like to separate my layers by days to help me filter through the plan in order. You can even add driving directions between locations as a layer! Find what works for you and customize the labels, colors, and titles of each of your layers just like with the location pins.
With a Little Help from Friends

Any kind of road trip is a good road trip. The sun on the dash, perfect tunes, and endless possibility guarantees a great adventure. But the best road trips are often those you take with friends or family.
I used Google Maps to plan my California experience because I knew no one else would have to go out of their way to download or buy any app or software they didn’t already have access to. With just the click of the Share button, you can invite anyone to view or edit your map to make the planning experience collaborative. You can even embed it onto a blog or website and make it public for all to see. And with that click, I knew everyone would always have access to the plan no matter who was navigating in the passenger seat.
Google Maps is My Co-Pilot
With my map completed and the rest of our road trip planned visually on our custom Google map, all that was left was to enjoy the comfortable drive in the RV. From pinpoint to pinpoint, we zigzagged across California. From the desert to the ocean to the mountains and back, the gorgeous California landscapes did not disappoint as we made the most of our time on the road.